Getting Started With the Card Deck Editor
Create a deck, name it, edit the spreadsheet, and bring in data from CSV or Excel files.
Create a deck and save the first draft
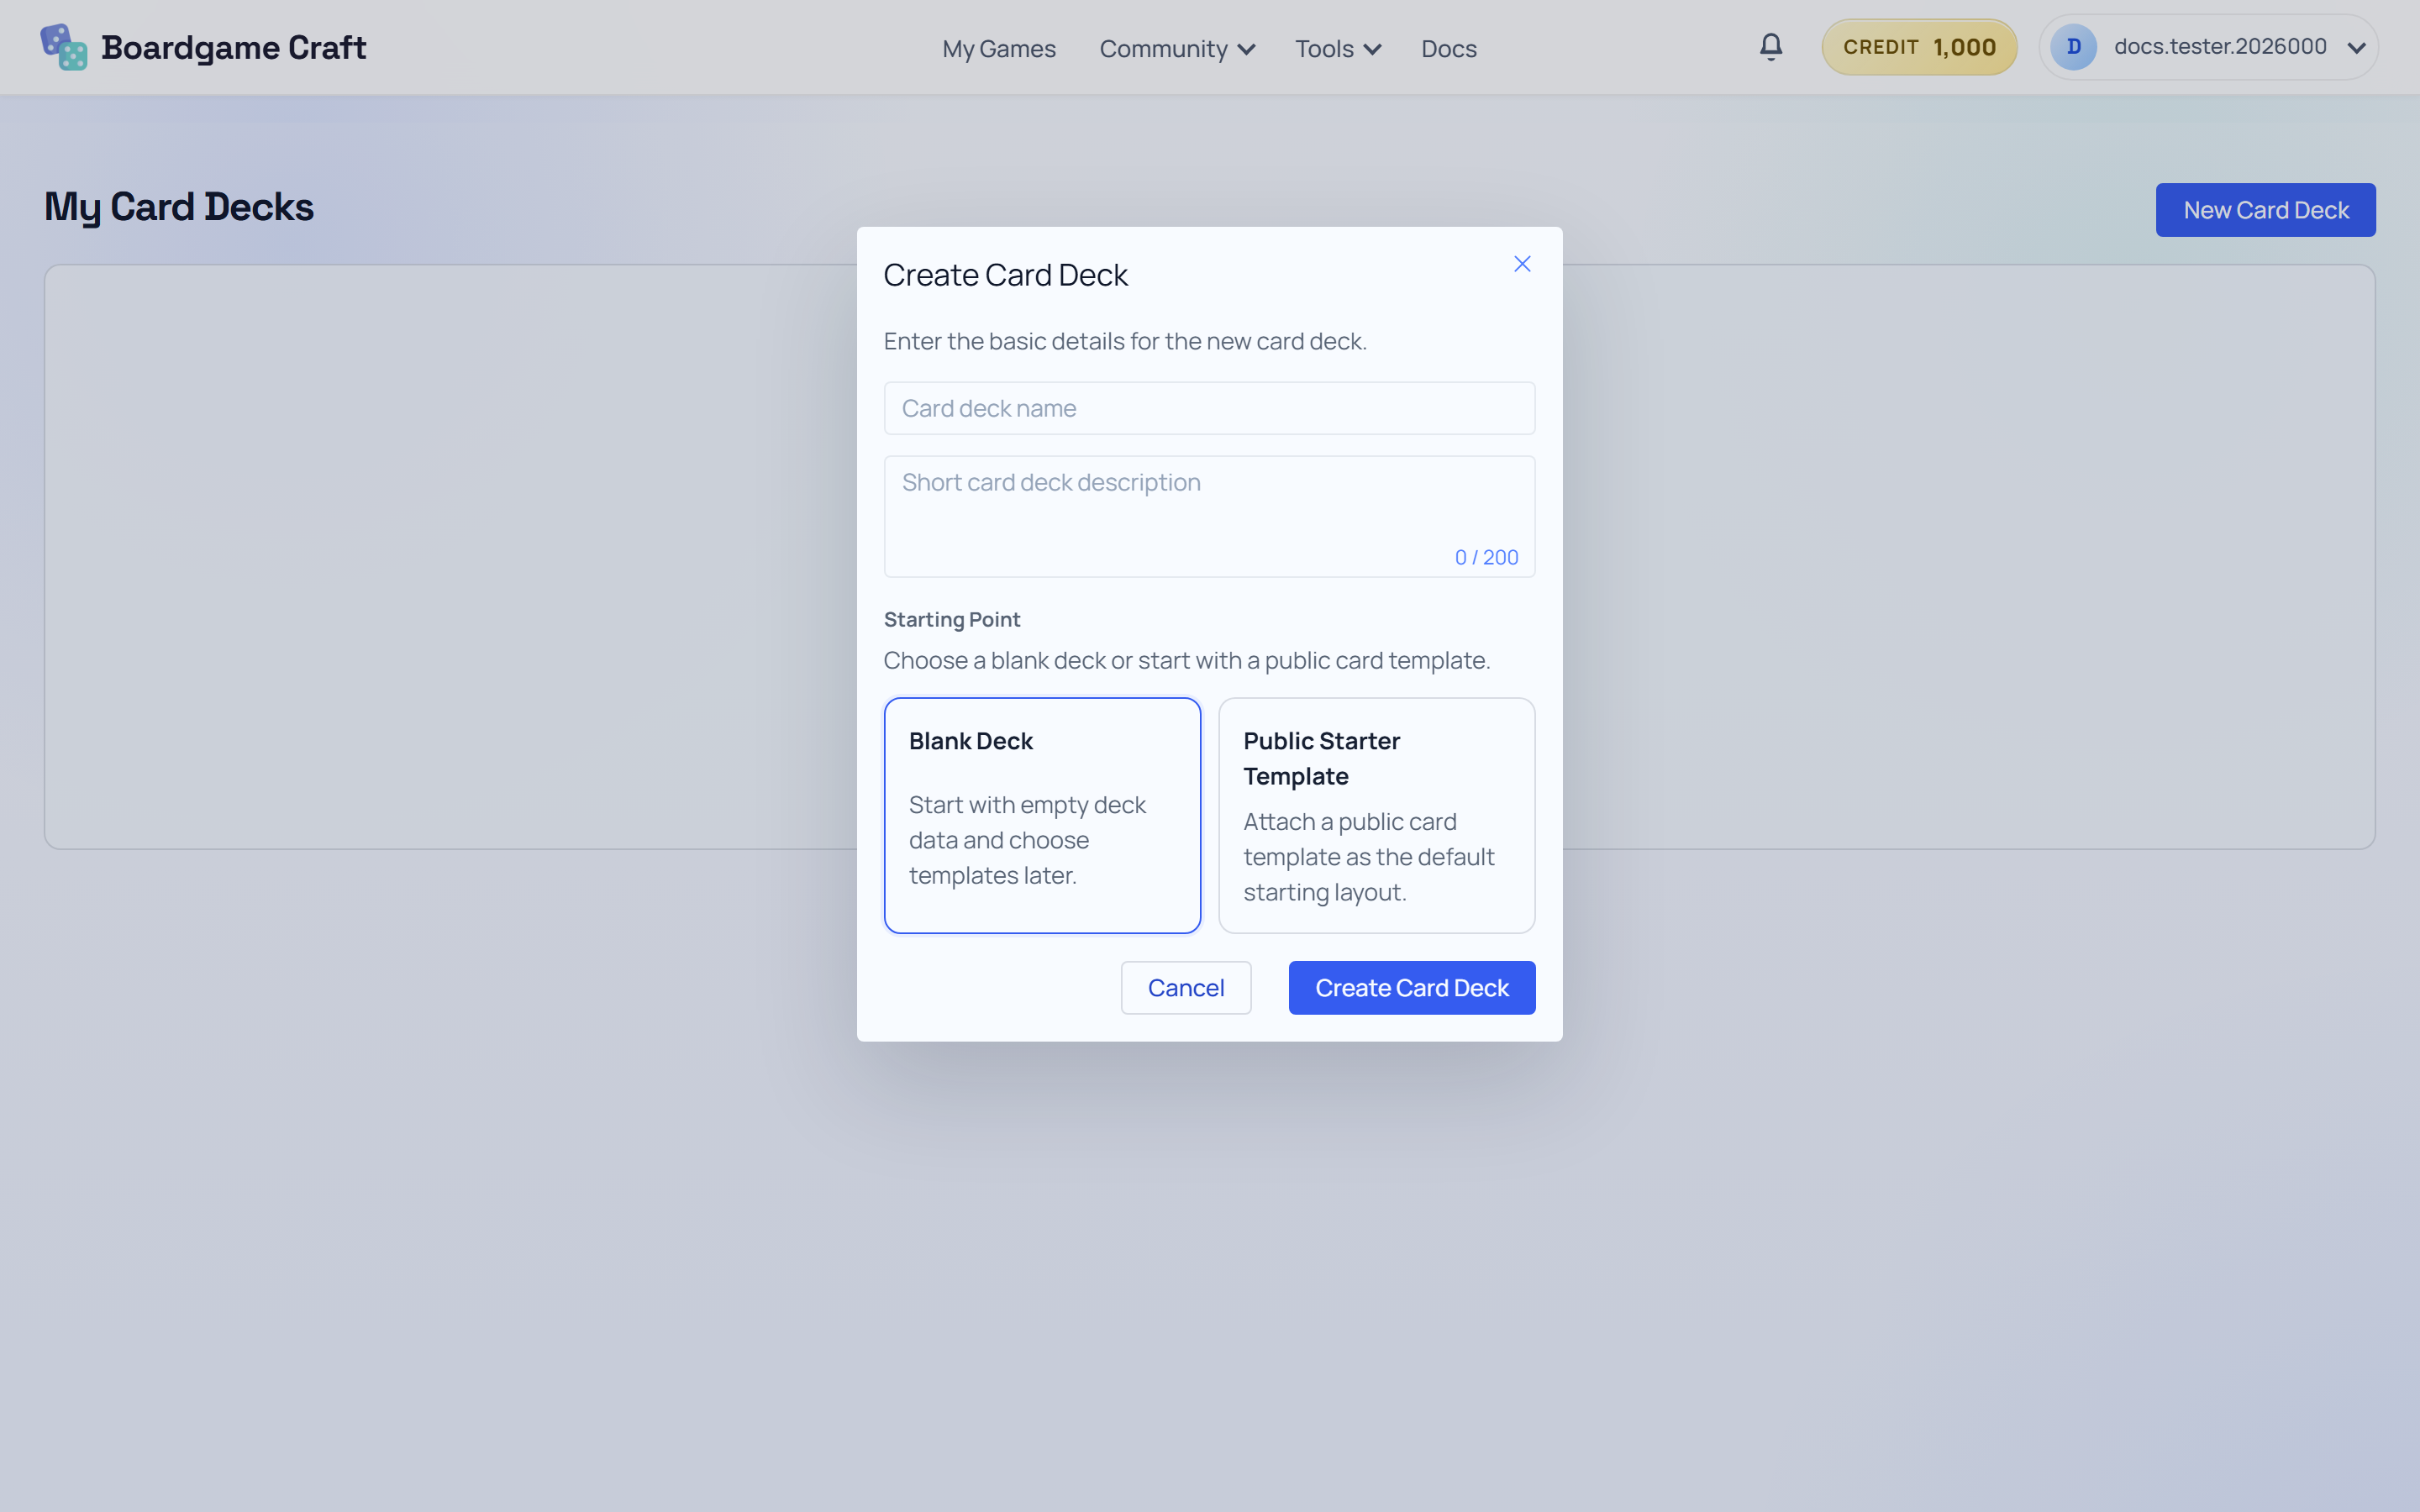
- Open My Card Decks and create a new deck. In the Create Card Deck dialog, enter a Name and a short Description.
- Choose your starting point: a blank deck, or a public starter template if you want a pre-filled structure to learn from.
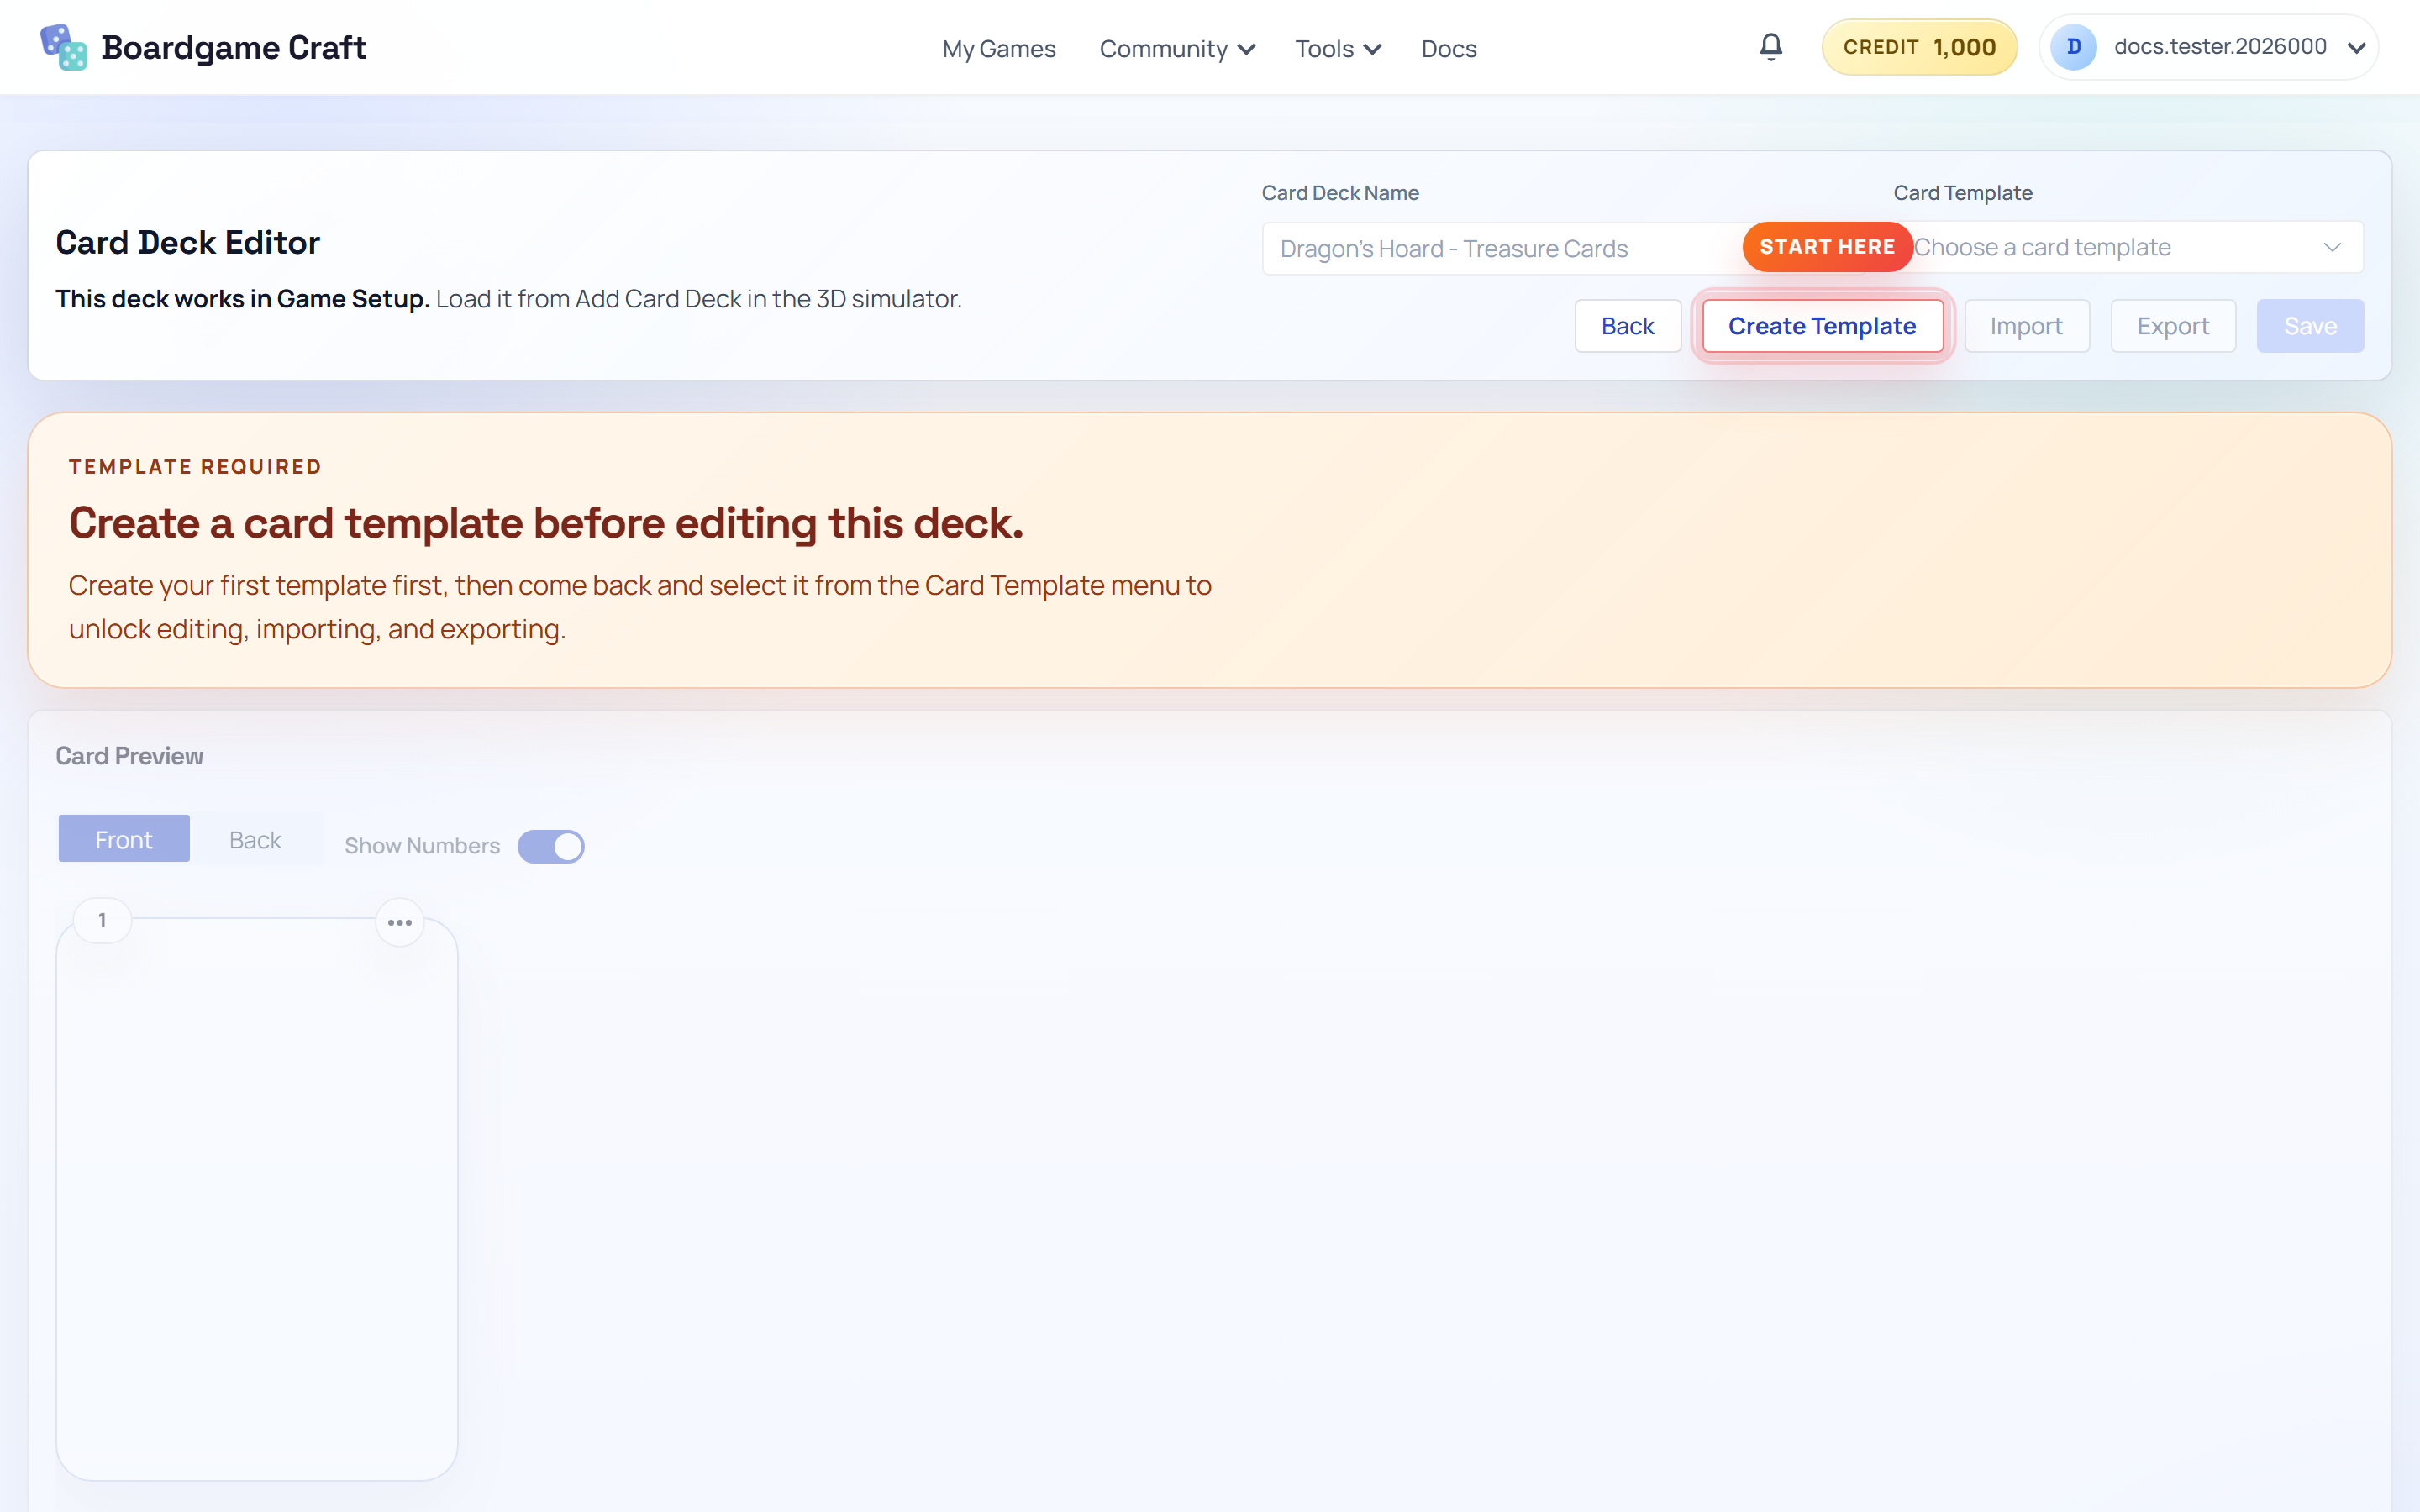
- The editor opens with your deck's spreadsheet, a preview area, and the editor actions.
Name your deck something you'll recognize later, like "Dungeon Crawl – Monster Cards". Future you will thank you when the deck list grows.
Work in the spreadsheet
The spreadsheet is the source of truth for your deck. Every row is one card and every column is one field that can later show up on the card design.
- Click any cell and type to edit it.
- Add rows when you need more cards.
- Add a column when you need a new field — for example an
Attackvalue or aFlavor Textline. - Rename a column to change the field name. Keep names short and clear.
- Remove rows or columns you no longer need.
Import CSV or Excel files
If your card list already lives in Google Sheets or Excel, don't retype it:
- Use the CSV import action for comma-separated files, or the Excel import action for workbook files.
- After importing, check that the columns and rows look right in the grid.
- Fix anything odd by editing cells or renaming columns.
Tip for clean imports: make the first row of your file the column headers (Name, Cost, Effect...). The import maps headers to columns automatically.
Save, undo, and redo
- Save Card Deck stores your changes. The last-saved status in the workspace updates so you know where you stand.
- Undo and Redo cover your spreadsheet edits, so experiment freely.
Next: Editing and Export — connect a template, preview real cards, and export them.