Step 2: Build Your Cards
Make a small deck of cards using the Card Deck Editor. The goal here is speed, not beauty — just enough cards to test one turn of your game.
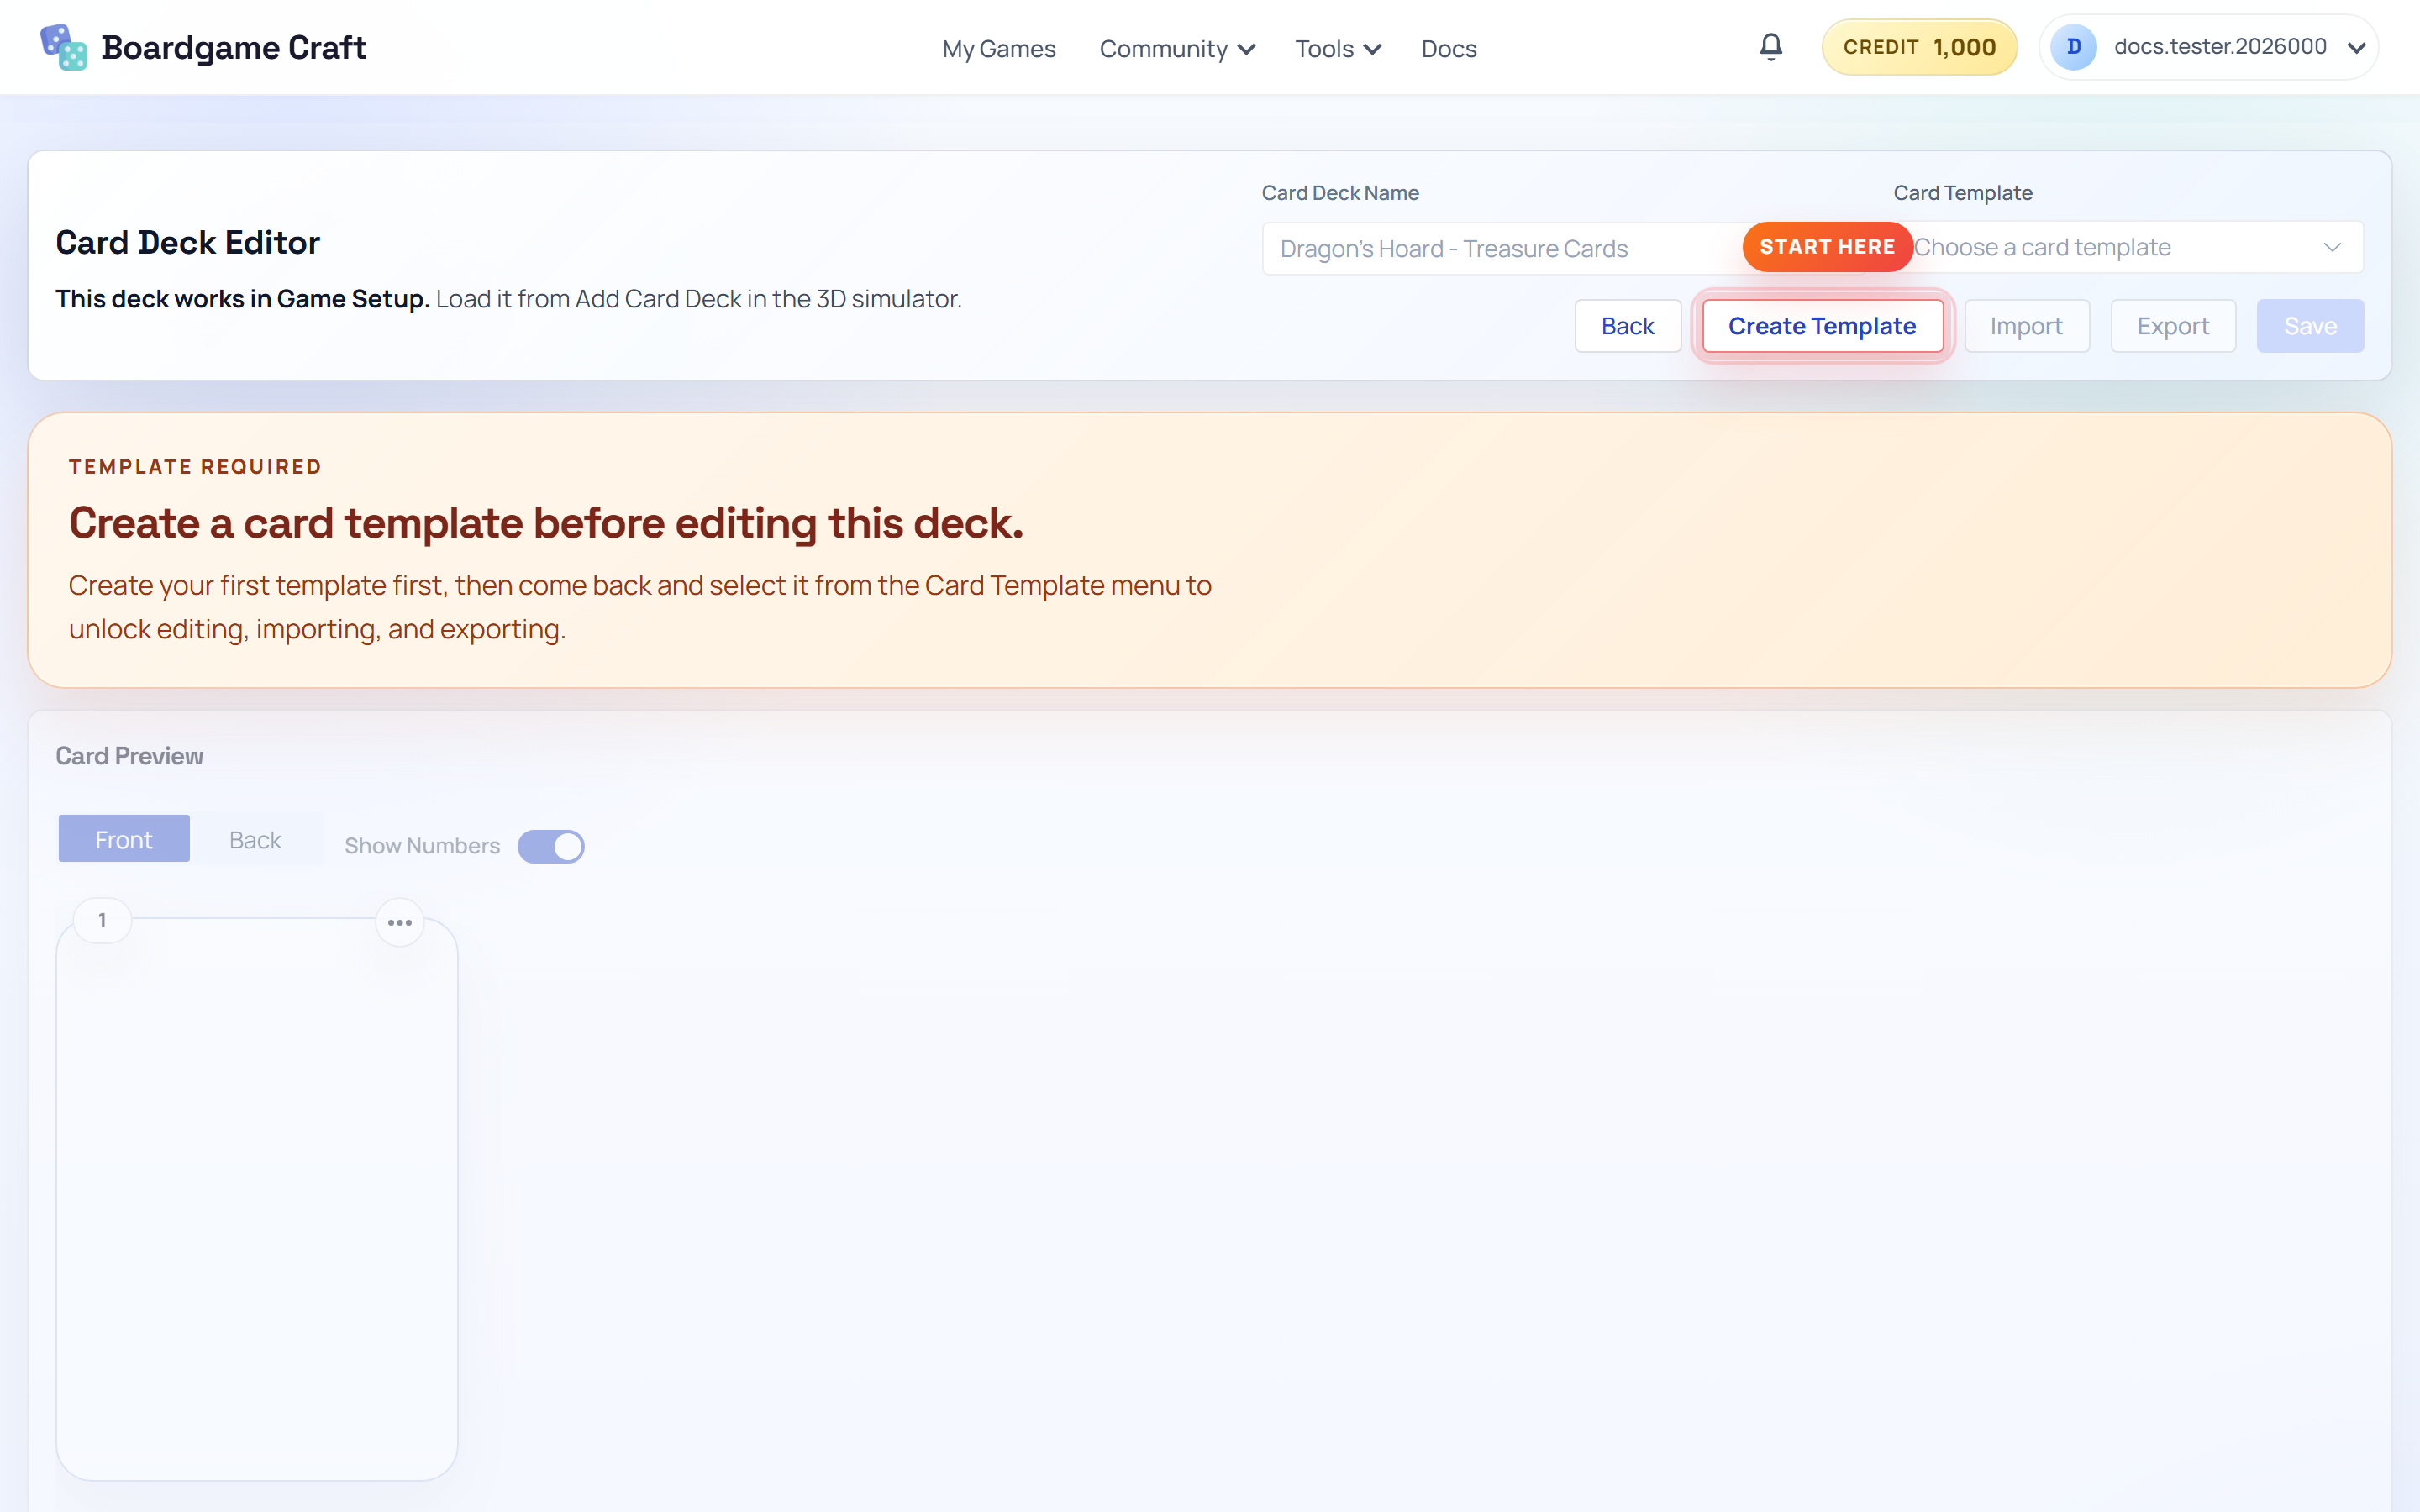
How cards work in Boardgame Craft
Two tools work together to make cards:
- The Card Deck Editor holds your card data in a spreadsheet. Each row is one card, and each column is one field (like Name, Cost, or Effect).
- The Template Editor holds your card design — where the title goes, where the art goes, what fonts and colors to use.
Why split data and design? Because you design the look once, and all your cards use it. Add 50 more rows to the spreadsheet and you get 50 more finished cards — no extra design work.
Create a deck
- Open My Games, click the Tools dropdown on that page, and choose Open My Card Decks.
- Click the new deck button to open the Create Card Deck dialog.
- Enter a Name, then choose how to start: blank for an empty deck, or pick a public starter template to begin with a ready-made structure.

Add a few cards
- Type directly into the spreadsheet cells. Start with two or three columns — for example
Name,Cost, andEffect. - Add a row for each card. Aim for 5–10 cards.
- Click Save Card Deck when you're done.
Already have your cards in a spreadsheet? Use the CSV or Excel import buttons to load them in one go.
Give the cards a look (optional for now)
Your deck works fine with plain data for a first playtest. When you want the cards to actually look like cards, open the Template Editor, design a layout, and link its fields to your deck columns. The Template Editor guide covers this in detail.
Next up
Time for the fun part — putting everything on a table and playing it. Continue to Step 3: Play on the Table.