Step 3: Play on the Table
Open the 3D simulator, place your game pieces on the table, save the setup, and invite a friend with a room code.
Open the simulator
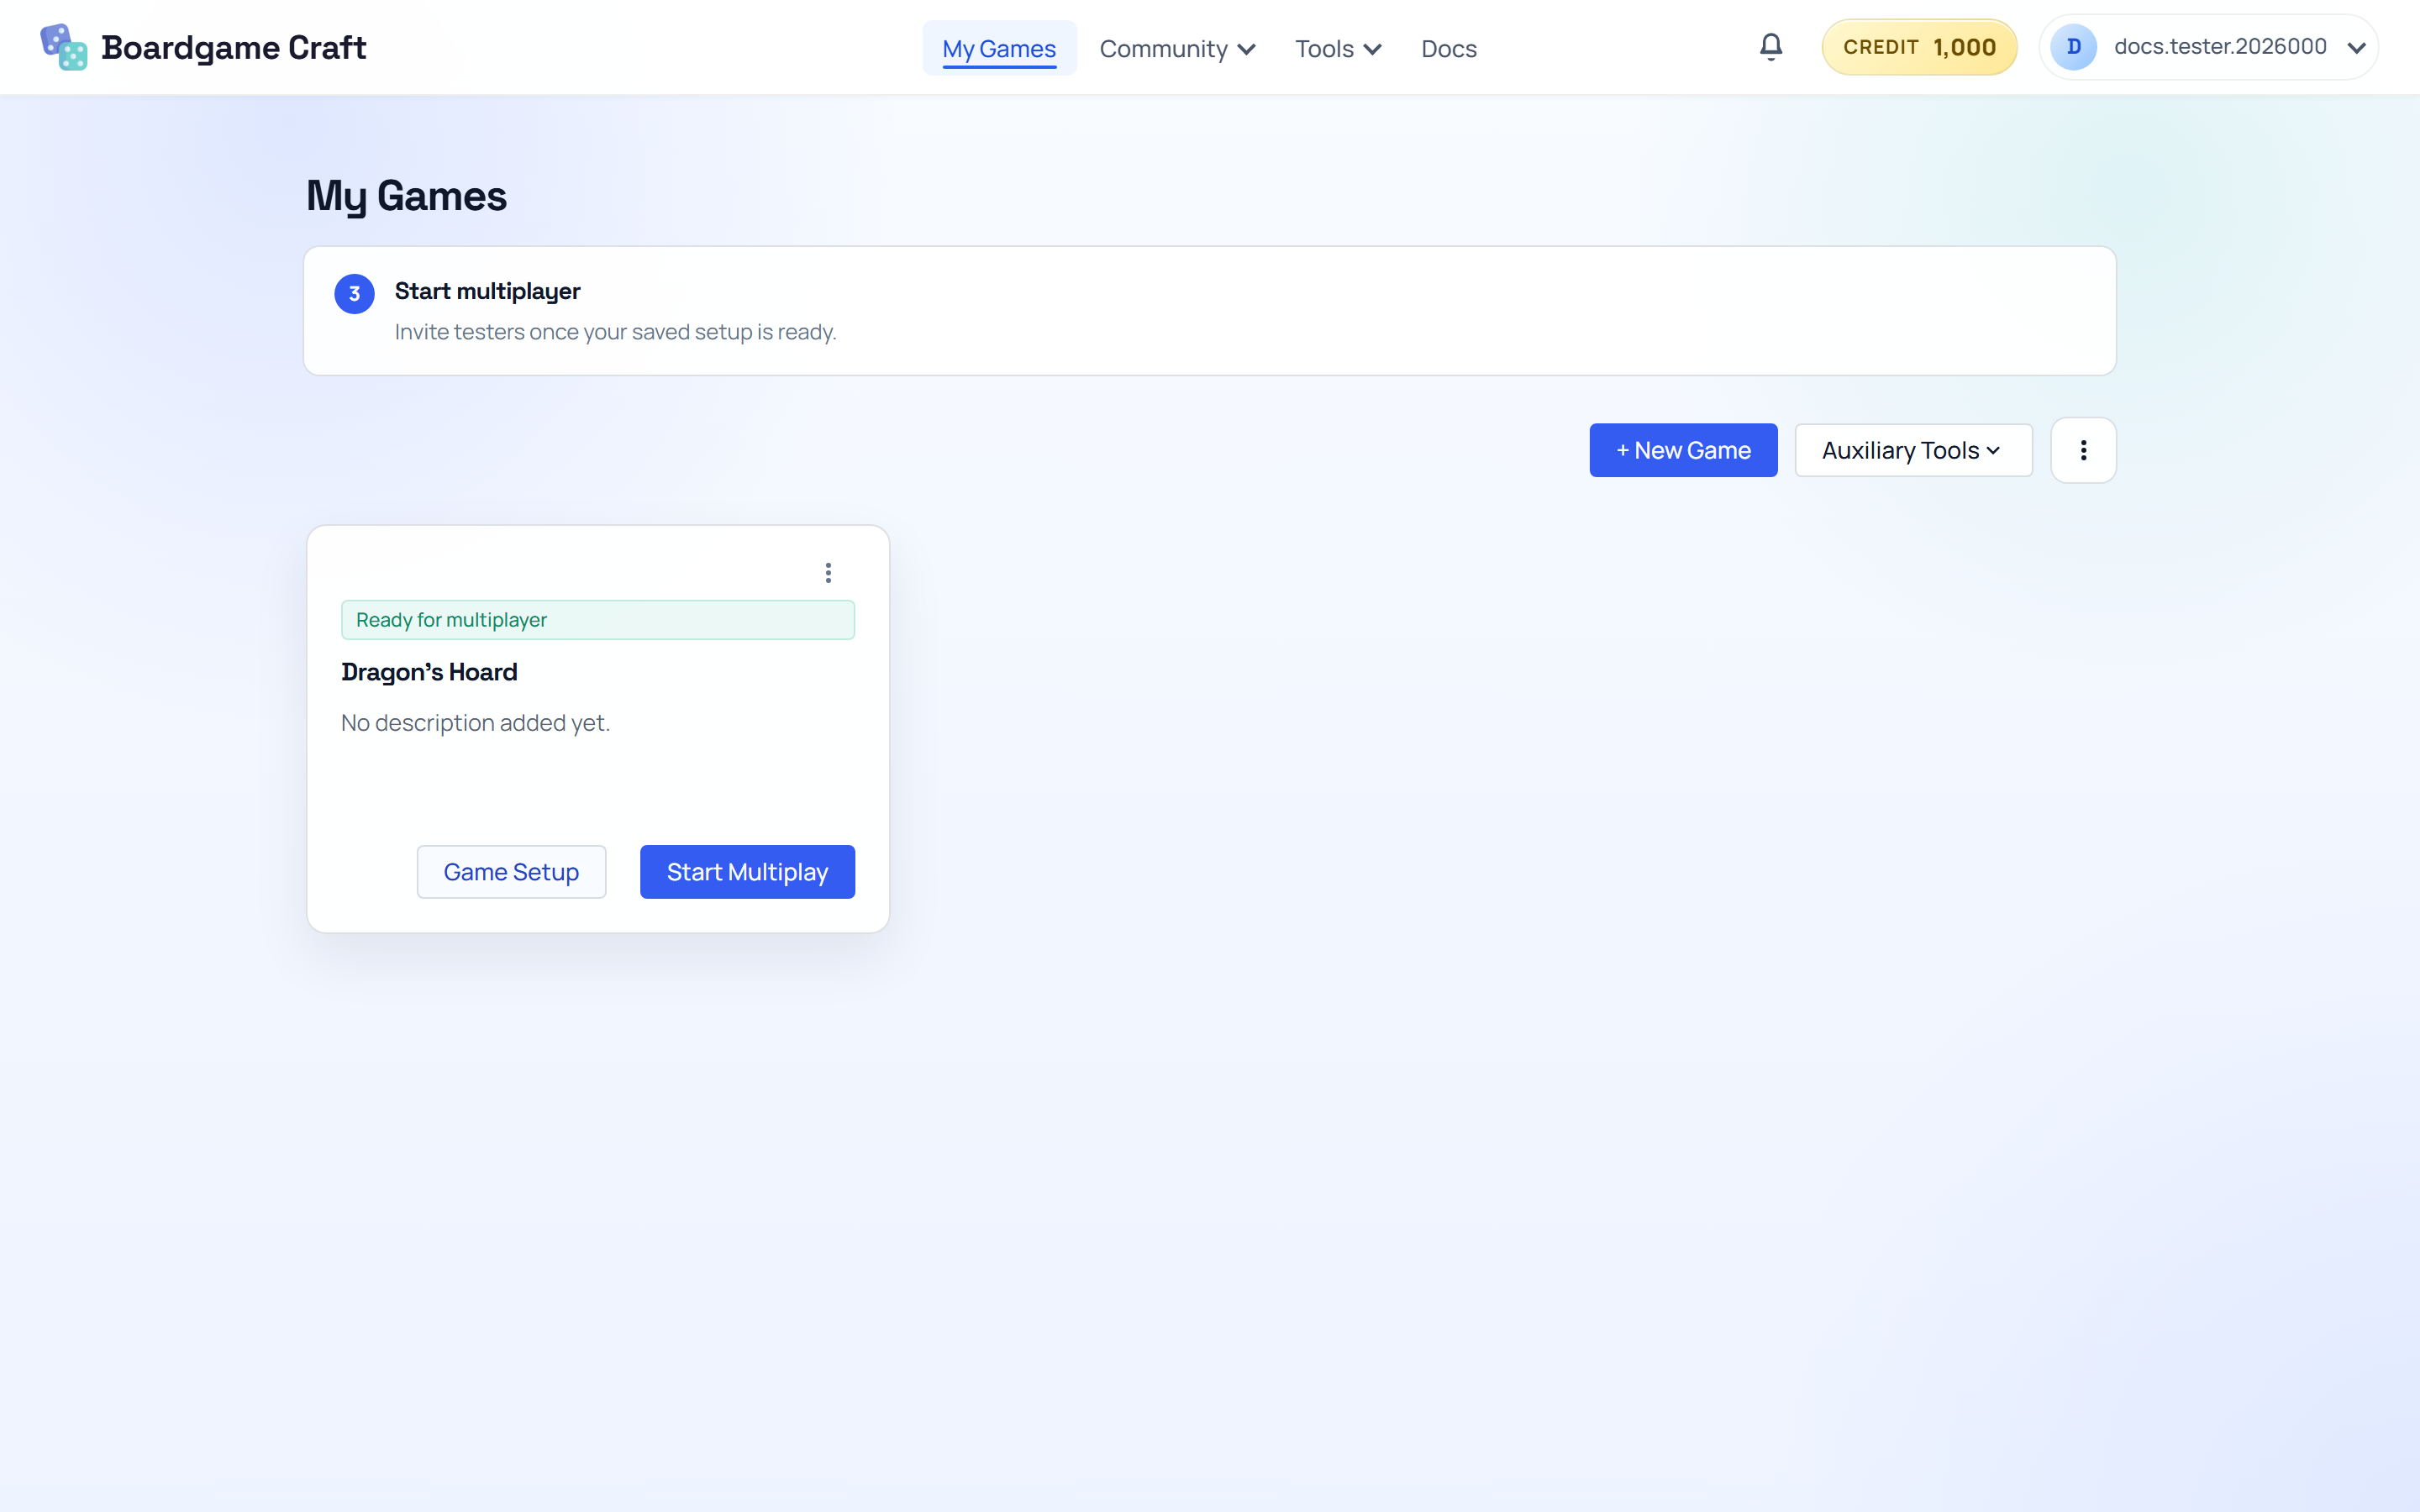
- Go to My Games.
- On your game's card, click Open Game Setup. This opens the 3D simulator for that game.
Place objects on the table
On the left side you'll find the Spawn Objects panel. Click any object type to drop it onto the table:
- Board, Tile, Card, Card Deck — the core pieces of most games.
- Dice, Marker, Token, Counter, Spinner, Dial, Bag, Timer — the extras that make games tick.
Drag objects to move them around. Use the camera presets (Wide View, Top View, Angled View) to look at the table from different angles.
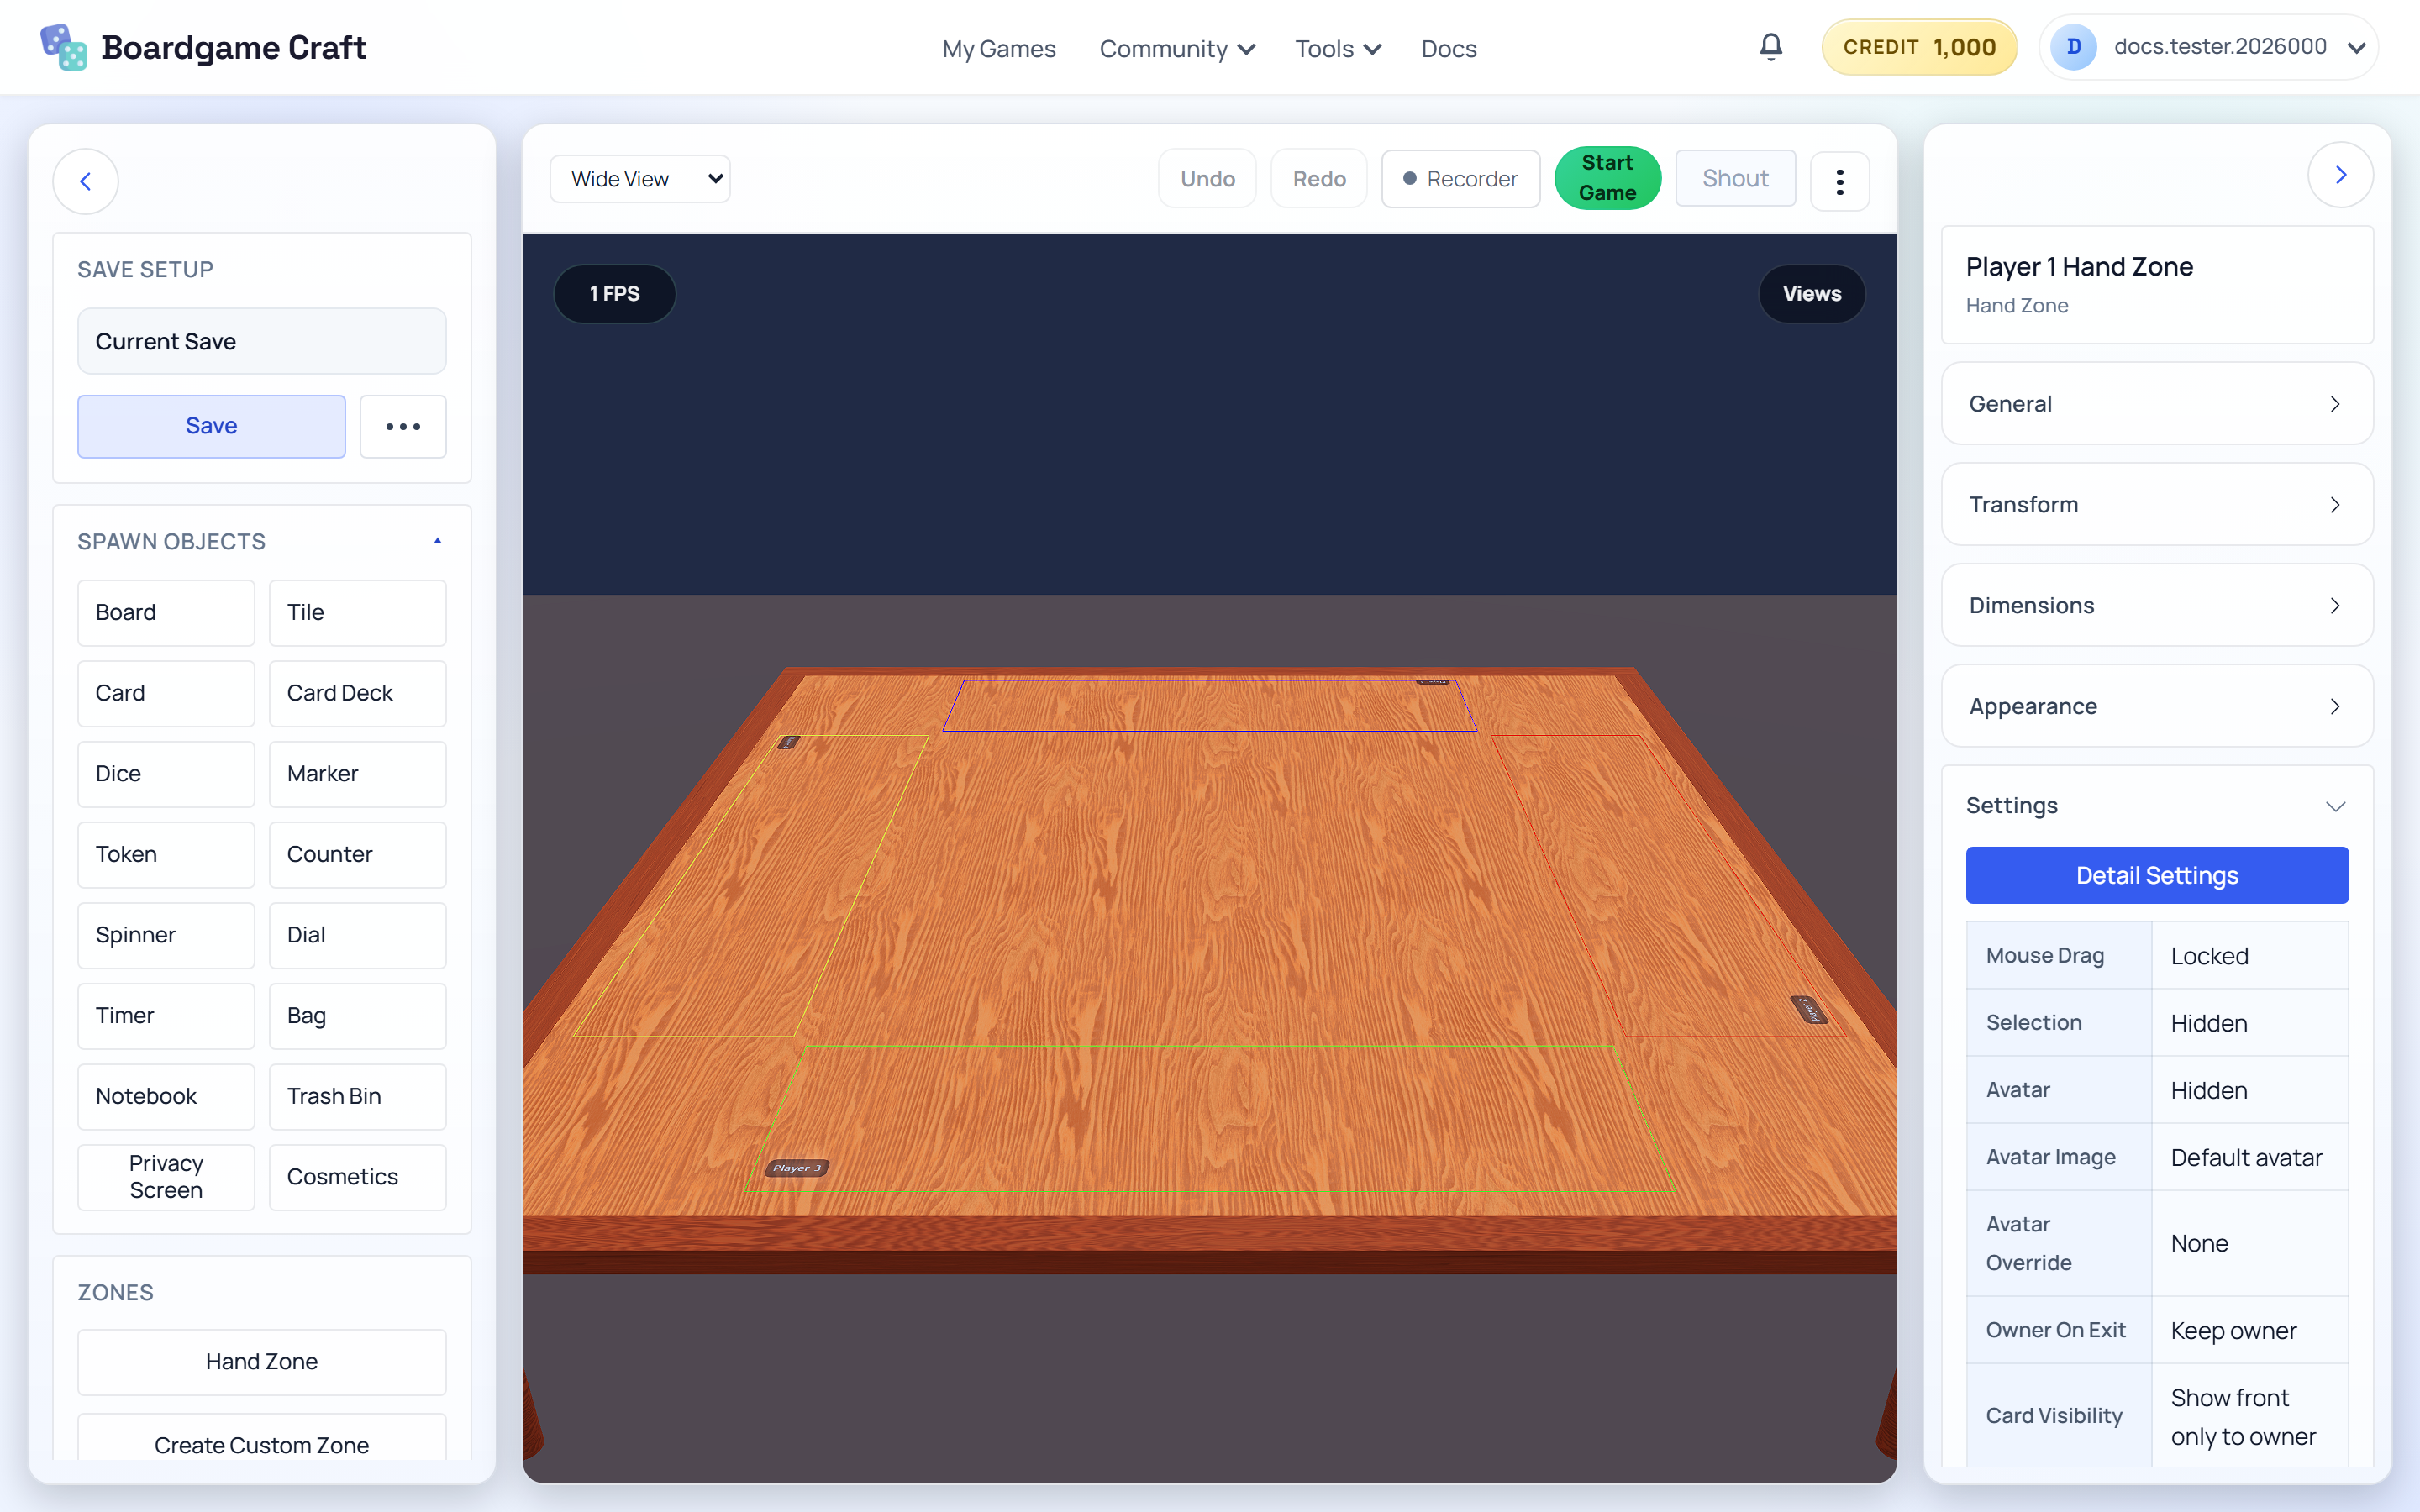
Add a Hand Zone so each player has a private area for their cards — other players can't see what's inside it.
Save your setup
Click Save in the save panel. This stores the whole table — objects, positions, everything — so a multiplayer room can load it later.
Don't skip this! Multiplayer rooms load your saved setup. If you never save, there's nothing to play.
Invite a friend
- Back in My Games, your game card now shows Start Multiplay. Click it.
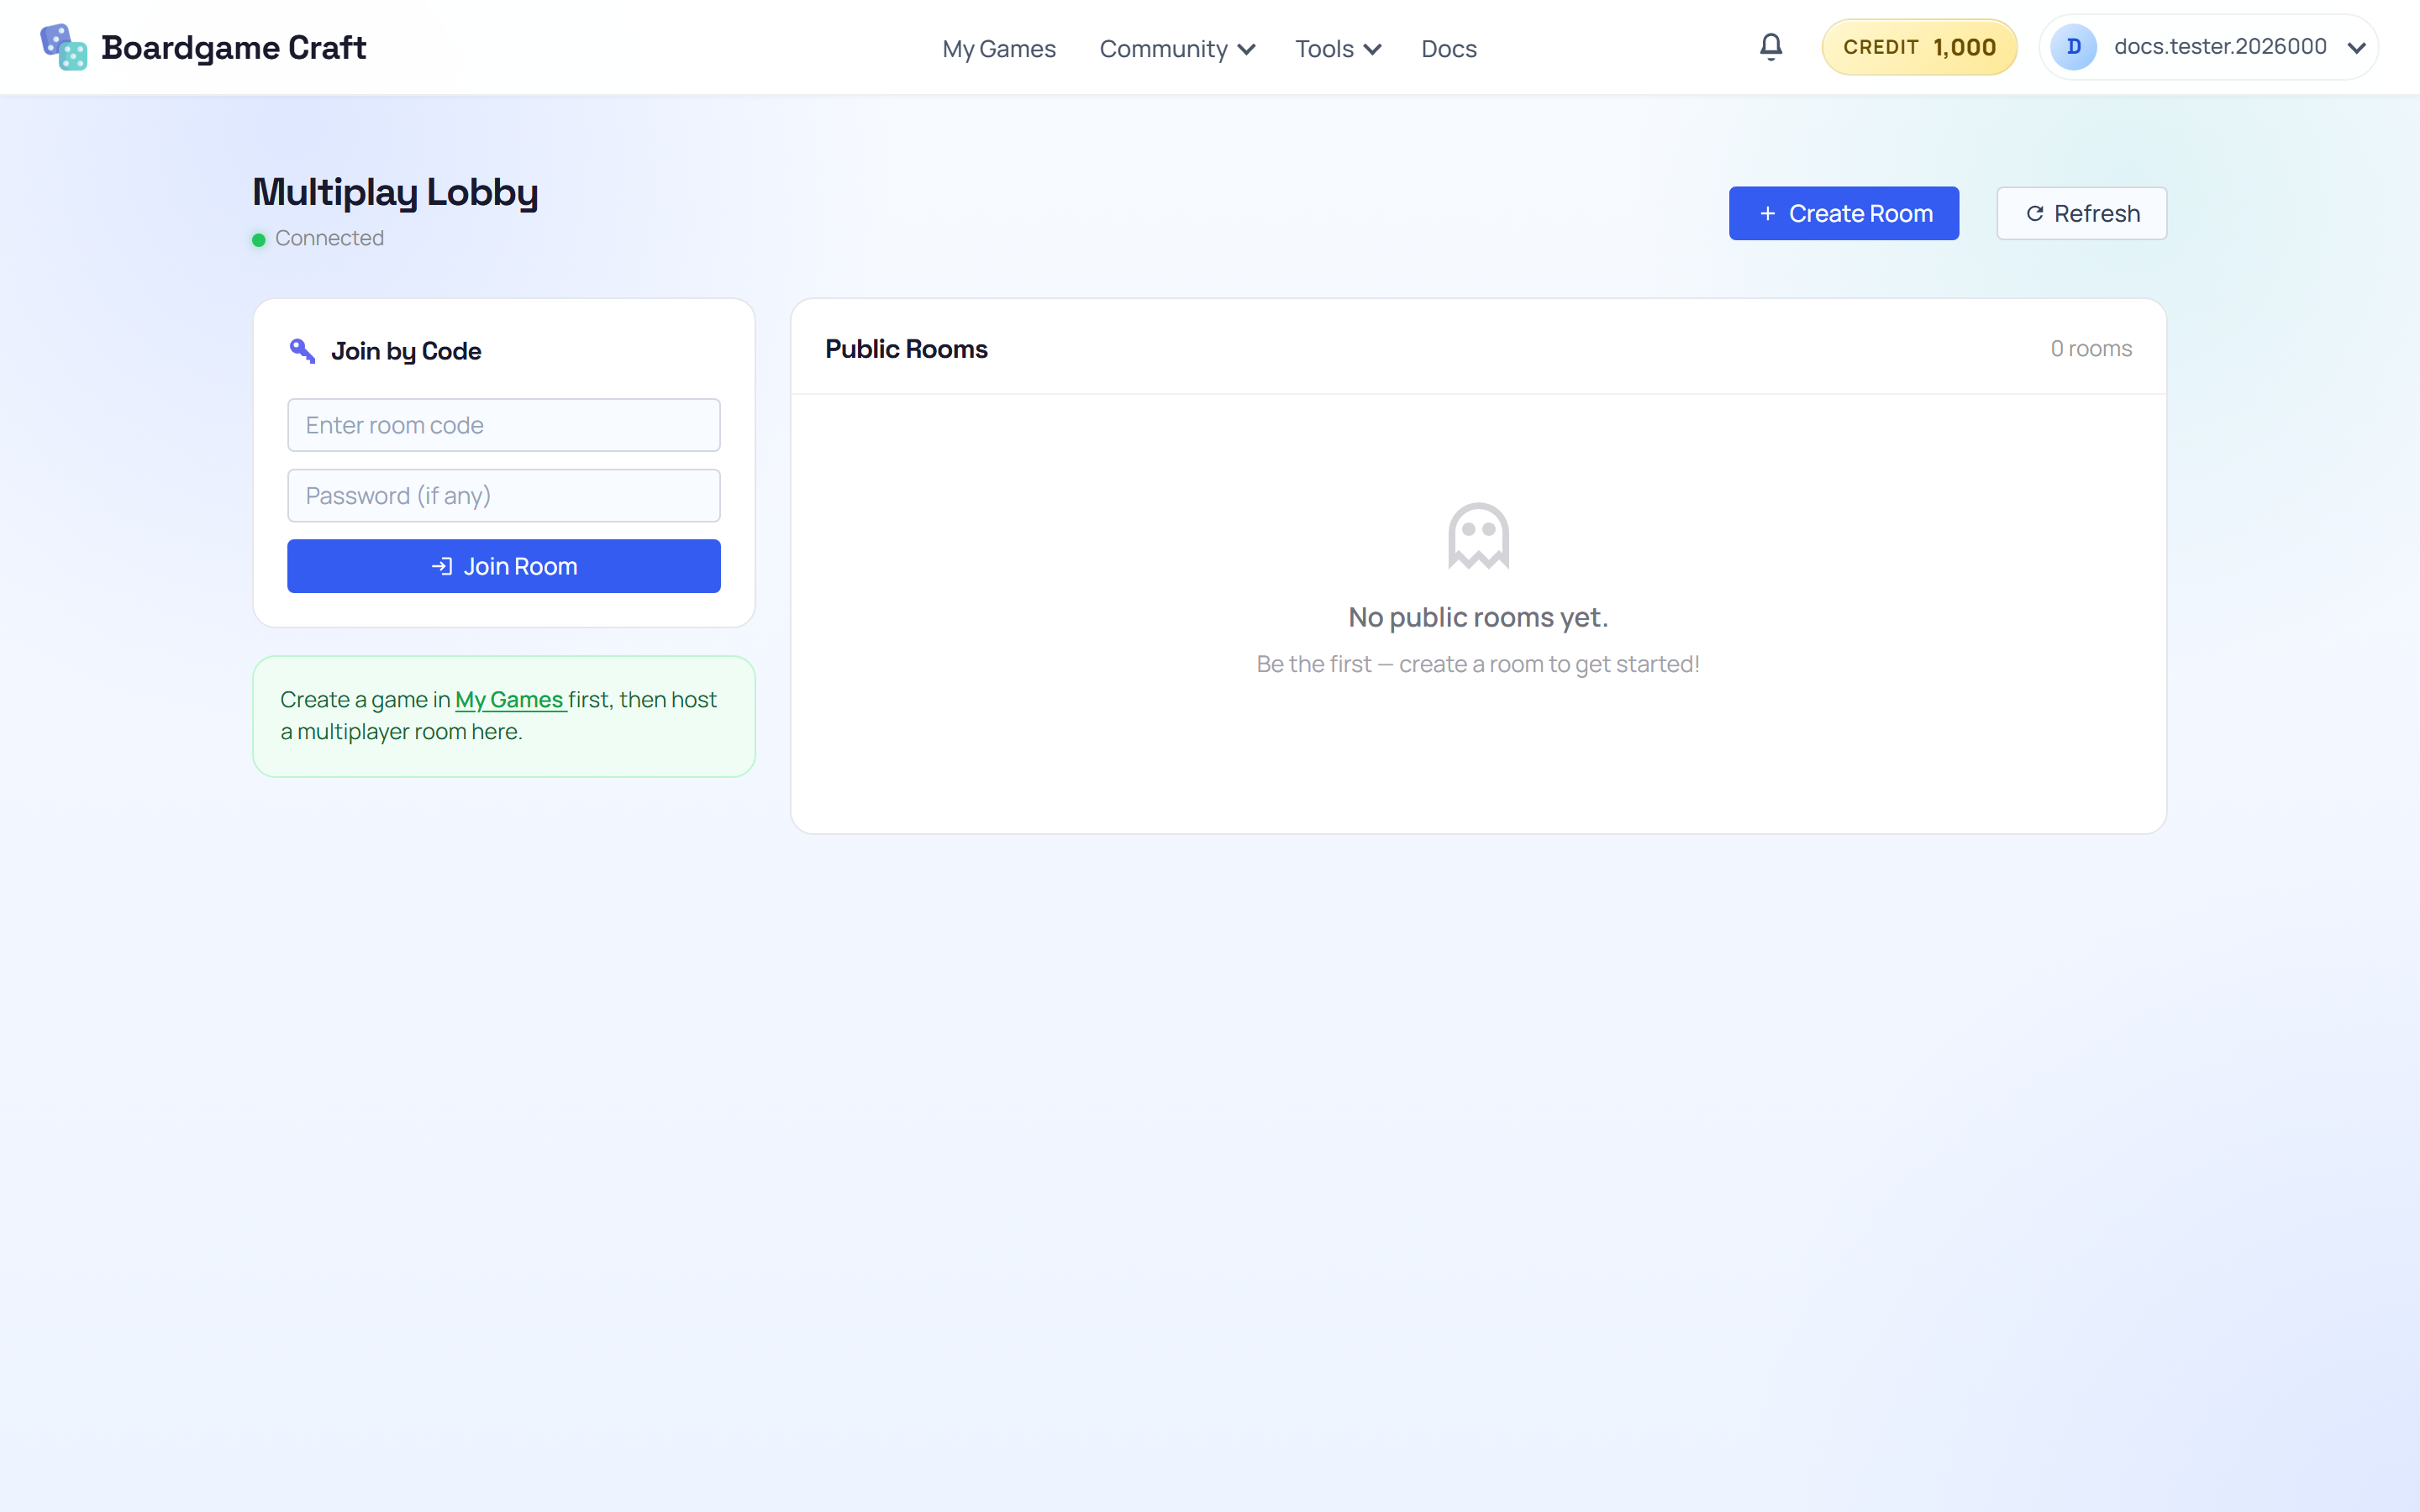
- In the Multiplay Lobby, click Create Room, pick your saved file, and set how many players can join.
- Share the room code with your friend. They open the Multiplay Lobby, type the code under Join by Code, and land at the same table as you.
🎉 You did it
That's the whole loop: create → build → play. From here, explore the rest of the docs to level up each part — better card designs in the Template Editor, AI-generated artwork in the Card Deck Editor, or ready-made 3D pieces from the Marketplace.