Template Editor Foundations
Create a template, pick the card size, design both sides, and build the layout with text, images, and shapes.
Create or load a template
- In the Card Templates section, use the template dropdown to open a saved template.
- Use New to start a blank template.
- Edit the Card template name field, and click Save Template to store your work.
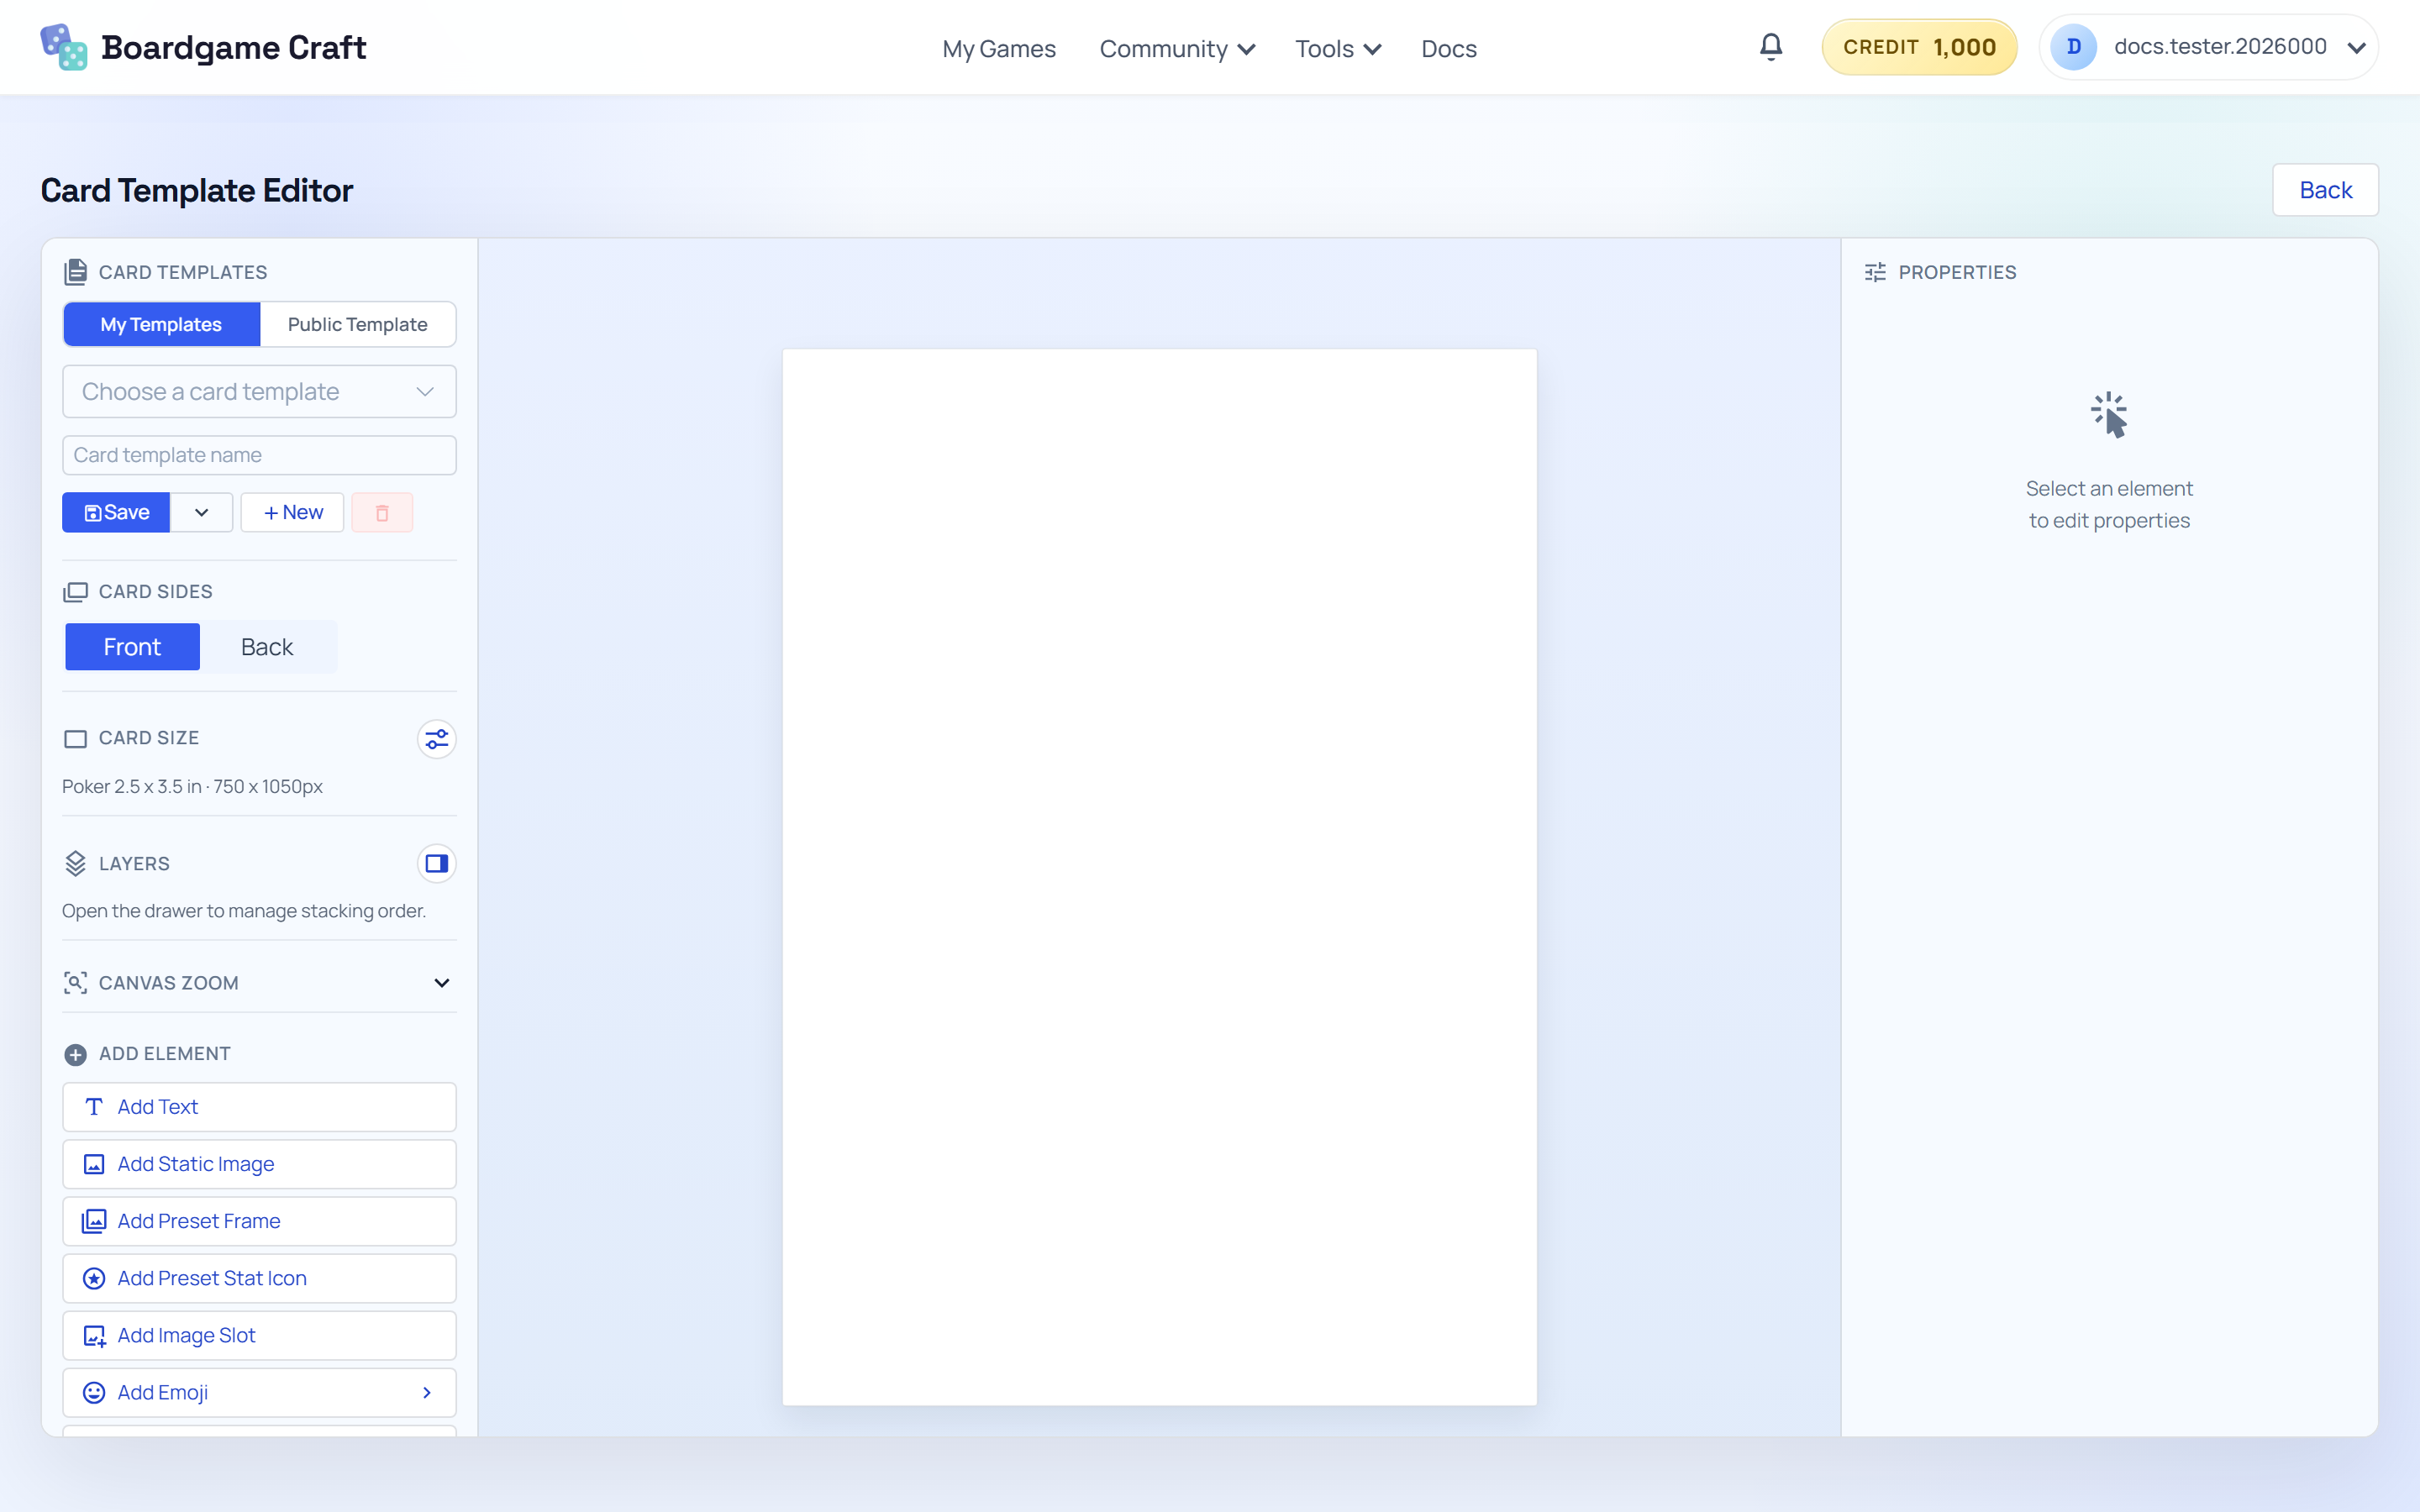
Set the card size first
Open the Card Size settings and choose a preset — or switch to custom mode and enter your own width and height. You can also set the canvas background color here.
Do this before designing. If you change the card size after placing elements, you'll probably need to reposition everything. Lock the size in first.
Switch between Front and Back
The Card Sides control switches the canvas between the card's Front and Back. Each side keeps its own content, so design them separately. A common pattern: detailed front, simple shared back.
Add elements to the canvas
The Add Element section gives you four building blocks:
- Add Text — a text object. Use it for titles, stats, and rules text.
- Add Static Image — a fixed image that looks the same on every card (like a frame or logo).
- Add Image Slot — an image field that gets filled by deck data, so each card can show different art.
- Add Shape — rectangles, circles, and other shapes for backgrounds and dividers.
Static vs. slot — the golden rule: if it changes from card to card, use a slot (text field or image slot). If it's the same on every card, make it static.
Layers and zoom
- Open the layer drawer to reorder elements — what's on top, what's behind. Keep backgrounds at the bottom and text on top.
- Use Canvas Zoom to zoom the view in or out while editing. It only changes what you see — not the actual card size.
Next: Production Workflow — inline formatting and hooking the template up to your deck.